Microsoft PowerPoint offers many tools for working with pictures and photos that you can use to enhance your slides. One of these features is the ability to flip an image.
You may have an image that would create a unique appearance by flipping it upside down. Or, you might have a picture that you want to flip horizontally in order to mirror it.
We’ll show you a few methods for flipping an image in PowerPoint so that you use whichever works best for you. We’ll also explain how to use Plus AI for PowerPoint to add new slides with the ideal content and images for your presentation.
Method 1: Use the Rotate menu to flip an image
One of the simplest ways to flip a photo or picture in PowerPoint is by using the Rotate menu on the ribbon. With it, you can quickly flip an image vertically or horizontally.
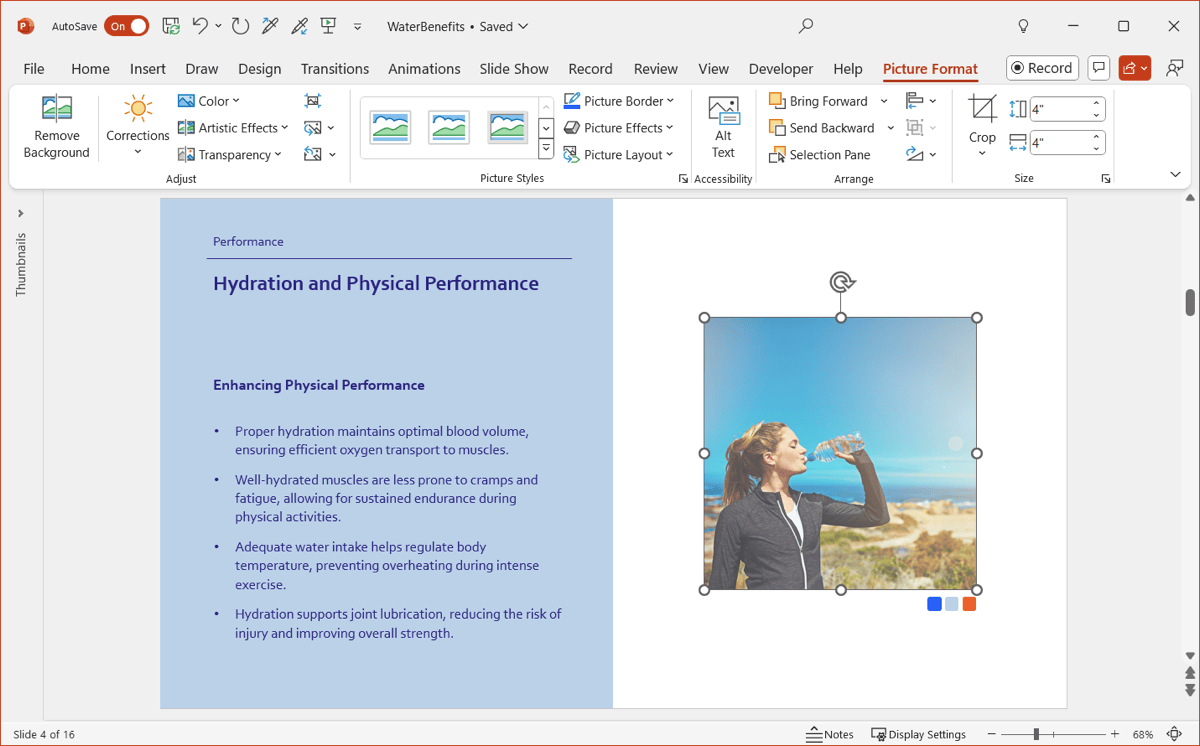
- Select the image and go to the Picture Format tab.
- Open the Rotate Objects menu (triangle) in the Arrange section of the ribbon.
- Choose Flip Vertical or Flip Horizontal.

You’ll see your image flip in the direction you choose while remaining in its same position on the slide.
Method 2: Drag to flip an image
Another way to flip an image in PowerPoint is by freely dragging one of its edges. This is a good way to go if you also want to stretch or shrink the picture because it gives you complete control. The downside is that you can’t easily retain the image’s original size.
- Select the image and then click one of the edges depending on which direction you want to flip it.
As examples, if you want to flip it horizontally from right to left, click the right edge. To flip it vertically from top to bottom, click the top edge.
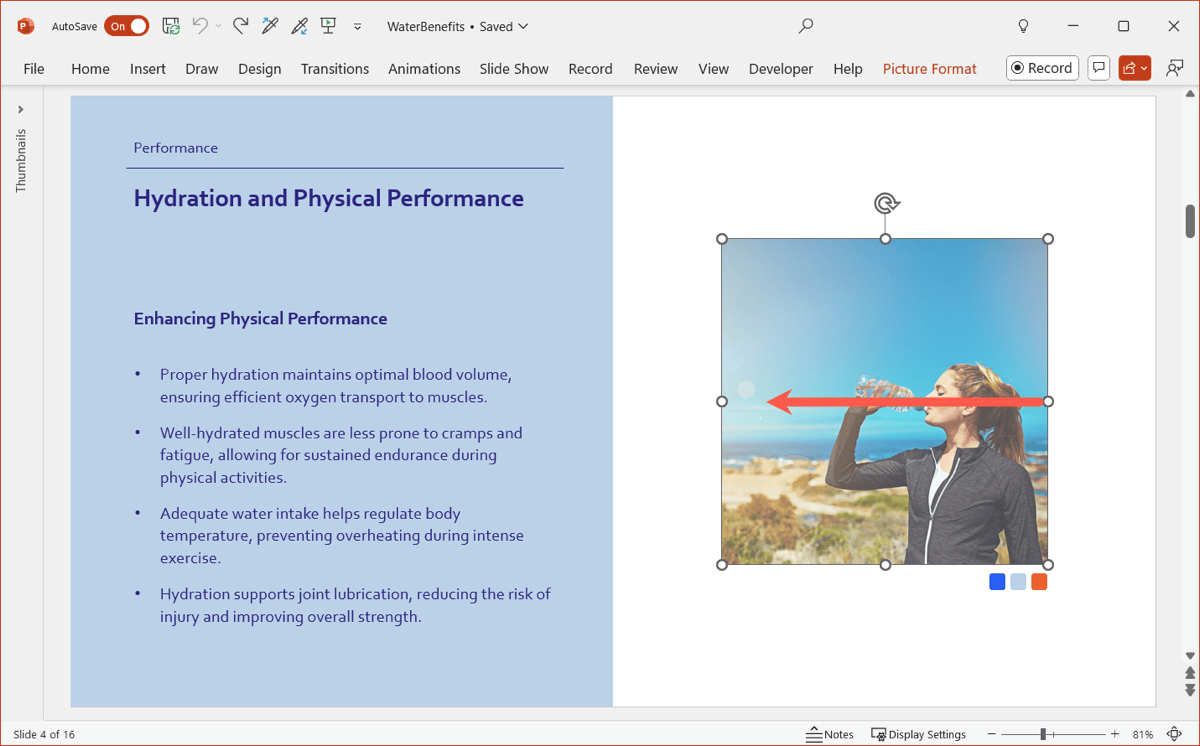
- Drag the image in the direction you want to flip it and release.
Once you flip the picture, you may have to move it or resize it.
Method 3: Drag to flip an image in place
While Method 2 works fine in some cases, it can take time to adjust the image after you flip it. If you want to keep the picture in place when you flip it, you can add a single key press.
- Select the image and then click one of the edges depending on which direction you want to flip it.
- Hold Ctrl on Windows or Control on Mac as you drag the image. You’ll notice that it flips in its exact slide position for an easy maneuver.

Insert slides with images using Plus AI for PowerPoint
Finding the right pictures for your slides isn’t always easy. You may spot an image that somewhat matches your slide content or presentation mission, but you may need to alter in one way or another. Instead, consider Plus AI for PowerPoint to add slides with images.
With the help of artificial intelligence, you can tell Plus AI the content you want, pick a layout that includes a picture, and let the tool produce exactly what you need.

Plus AI works with PowerPoint on Windows and Mac as well as with Google Slides. This handy add-on not only lets you insert slides in existing presentations, but also create entire slideshows quickly and easily.
Conclusion
Now that you know how to flip an image in PowerPoint, you can easily give your pictures a different appearance or just make them more useful for your topic.
And with Plus AI, you can insert slides with images or build complete presentations with a simple prompt.
FAQs
Hot do you flip an image in Slides?
You can flip an image easily in Google Slides using the Rotate options. Select the image and open Arrange > Rotate or right-click and move to Rotate. Pick Flip horizontally or Flip vertically.
How do I flip a PowerPoint slide?
If you want to flip a PowerPoint slide from landscape to portrait view, go to the Design tab, open the Slide Size menu, and pick Page Setup. In the orientation section of the pop-up window, pick the Portrait view below Slides and click OK. Note that the change applies to all slides, not just the selected slide.
How do you send a picture backwards in PowerPoint?
When arranging your slide elements in PowerPoint, you may want to place an image behind the other items. Select the image and go to the Picture Format tab, open the Send Backward menu, and choose Send Backward or Send to Back.
Alternatively, right-click the image, move to Send to Back and choose Send Backward or Send to Back.


.png)