Unlike Microsoft Word, PowerPoint doesn’t currently offer the Track Changes feature. However, there is a way to keep track of changes you and your collaborators make to a PowerPoint slideshow.
We’ll walk you through the steps to track changes in PowerPoint. We’ll also explain how Plus AI for PowerPoint can reduce the time it takes to create and edit your presentations.
{toc}
Using the PowerPoint Compare feature
If you’ve never used it before, the Compare feature allows you to see changes between two PowerPoint presentations. With this feature, you’ll save a copy of your slideshow, share the presentation with your collaborators, and then compare the original file with the one you share.
You’ll then be able to see the changes made, who made them, and can accept or reject those changes. This is a great way to get everyone’s input and suggestions for a positive presentation.
1. Save a copy of your presentation
By saving a copy of your presentation, you’ll have the original without any changes that you can compare to the one that your collaborators edit.
- Go to the File tab and pick Save a Copy or Save As.
- Edit the file name to designate that it’s the original or a copy.
- Choose a location for the file and click Save.

2. Share the presentation
After you save a backup copy of your presentation, you can share the current file with others. By saving it to OneDrive or SharePoint, you can simply share the link to the file that collaborators can open and edit.
- Open the PowerPoint slideshow that you want to share.
- Select Share on the top right.
- Pick Share. If you haven’t saved it to OneDrive or SharePoint yet, you’ll be prompted to do so.
- Grant Edit privileges, enter the email addresses for those you want to share with, and optionally include a message. For instance, you may want to ask others to leave comments as they make changes to understand the edits.
- Click Send to share the link with your collaborators via email.

3. Compare the original and changed file
Once everyone is finished making their changes, you’ll open your saved file copy and the changed file for comparison.
- Open the PowerPoint file you copied and saved in Step 1 above.
- Go to the Review tab and select Compare.

- In the pop-up window, navigate to and select the file you shared, then click Merge.

- You should see the sidebar open automatically to show the changes, but if not, go to the Review tab and select Reviewing Pane.

- You can then move through each slide and change to see the details as described below:some text
- If your collaborators made changes to the presentation itself, such as adding or removing slides, you’ll see this at the bottom of the pane in the Presentation Changes box.

- If they made changes on the existing slides, you’ll see these in the Slide Changes box.

- To see either of the above, select the change and check the box.

4. Accept or reject the changes
You have the opportunity to accept or reject changes your collaborators make to the PowerPoint slideshow. And, you have a couple of ways to do so.
To accept a change, do one of the following:
- For a single change, check the box for the change.
- For all changes, select Slides in the Reviewing Pane and click the arrow next to the slide. Pick Accept Changes by this Reviewer.

To reject a change, do one of the following:
- For a single change, do not check the box for the change.
- For all changes, select Slides in the Reviewing Pane and click the arrow next to the slide. Pick Reject Changes by this Reviewer.

5. Save the updated file
When you finish reviewing and accepting or rejecting the changes, save the updated file.
You can either save it by replacing the original file (Save) or save it with a new name to retain the original file (Save As).
Go to File and pick Save or Save As per your preference.

Save time with Plus AI for PowerPoint
As you know, creating and editing PowerPoint presentations takes time. After all, you want the final product to be an informative and attractive slideshow that turns into a successful presentation.
Using Plus AI for PowerPoint, you can save time during the creating or editing process while still receiving that useful and appealing slideshow you want.
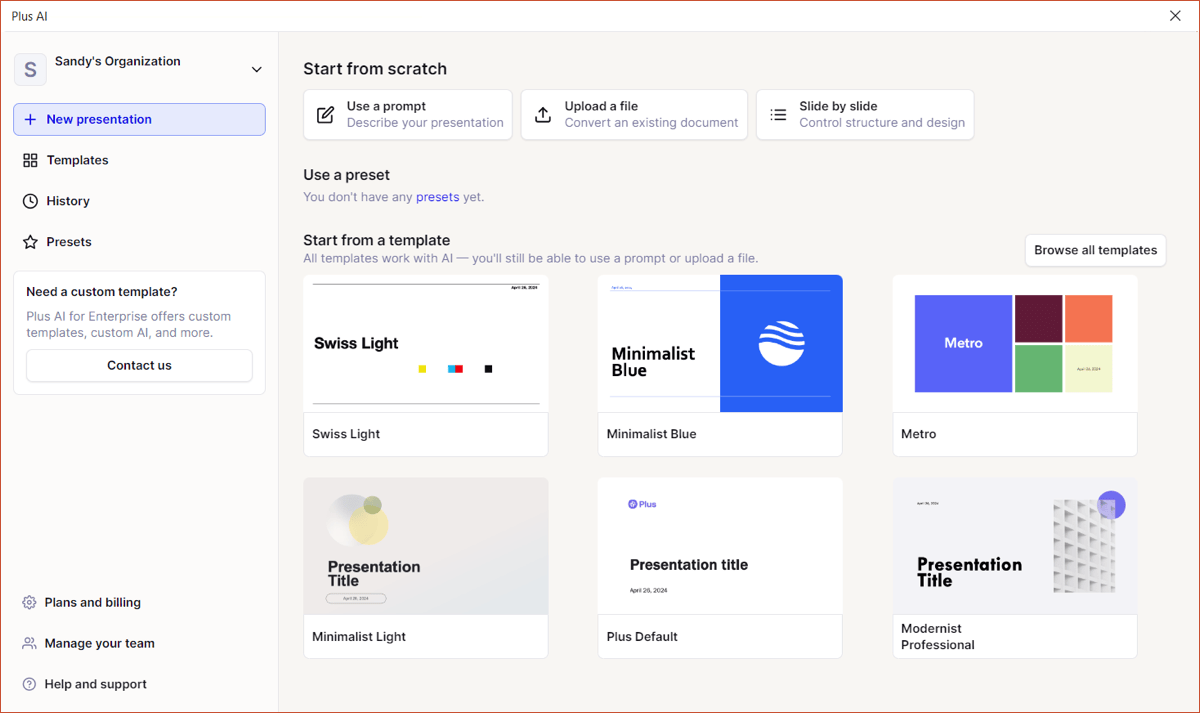
To create a presentation, pick an eye-catching template and then enter a prompt, upload a file, or paste the text. You can then review the slide titles and edit or rearrange them. When you generate the slides, you’ll have your slideshow ready to go!

To edit a presentation, insert a new slide, rewrite existing text, or remix a slide to use a more suitable layout. Using artificial intelligence, Plus AI gives you the exact edits what you ask for, quickly and easily.

For more information, head to the Plus AI website. Check out the template gallery and full feature set. Then, start your trial to see the power that this add-on packs!
Conclusion
When you’re working with others on a PowerPoint slideshow, you’re bound to get different ideas on how to best present the content. Using the Compare feature, you can incorporate everyone’s thoughts and suggestions to create the most successful presentation possible.
And be sure to keep Plus AI in mind for your next slideshow! Not only can you make a presentation in just minutes but rest assured that Plus AI will give you just what you need.
FAQs
How do I see the history of changes in PowerPoint?
You can access the Version History in PowerPoint a couple of different ways. Either select the file name at the top of the window and choose Version History or go to File > Info and pick Version History.
Where do I find Edit mode for PowerPoint online?
When you use PowerPoint on the web, you can quickly switch between the Viewing and Editing modes. On the top right, select Viewing and choose Editing to enter edit mode.
How do I turn on Track Changes in Google Slides?
In Google Slides, you don’t have to enable a specific feature to keep track of changes. Once you share your presentation with others, you can see changes they make using the Version History.
Click the Version history button (clock) at the top or go to File > Version history and choose See version history. You can then see the dates and users on the right. Pick any version to move through the changes using the Edit toolbar at the top.


