Delivering a slideshow to your team is more challenging now than ever. A great message is not enough; the medium—your slides—has to be on point, too.
One thing that can transform your presentation slides from drab to designed is text wrapping. Text wrapping fits your text snugly around pictures, shapes, and other media assets in your slides. It gives your presentation a polished look and creates a balanced, professional aesthetic.
However, wrapping text in a Google slide isn't as obvious as one would think. This is because Google Slides doesn't make text wrapping a direct feature on its app like Google Sheets. But the good news is that anyone can experiment with different text and image alignment features to make their slides look better.
In this step-by-step guide, I'll explain how to wrap text in Google Slides in four easy steps and share instructions on how to create the same slide with Plus AI.
While you’re here, make sure to check out Plus AI! Experience the power of AI in your Google Slides and transform the way you present forever.
Understanding Text Wrapping
Text wrapping is a feature that allows you to wrap text around any object (typically an image box) in a way that fits the object's shape. It’s a simple design element that can significantly affect how your slide layouts appear to viewers. Text wrapping is often used in documents or slides that contain a mix of graphics and text.
Understanding how to navigate this feature (without an explicit text wrapping button) is important for Google Slides' 800 million+ users who want to improve their presentations.
The Benefits of Text Wrapping
Why does text wrapping even matter? Here are a few reasons:
- Enhanced Visual Appeal: It helps to create more visually interesting slides.
- Optimized Layouts: Text wrapping optimizes space and structure on a slide.
- Professional Touch: A well-wrapped presentation looks professional and is more likely to engage your audience.
How To Wrap Text In Google Slides (Five Easy Steps)
Step 1: Insert An Image
The first step is to insert an image onto your slide. Click 'Insert' from the menu bar and choose 'Image'. You can select an image from your computer, Google Drive, or the Web.

Step 2: Resize The Image
Once you've added the image, you'll likely need to resize it. Click on one of the corner arrows and drag in or out to resize the image. Remember, the size of the image can affect the flow and appearance of the wrapped text.
Step 3: Insert A Text Box
Head to the ‘Insert’ toolbar and select the ‘text box option’.

Step 4: Adjust the Text Wrapping
Paste the text to this box and move it around. You can also adjust the box's length and test out different sizes that make text wrapping look better on your side.

Step 5: Experiment With Text Alignment Styles
Google Slides offers many text alignment options, including 'Left', ‘Center’, and ‘Justified’.
Select the 'Align & Indent' option in your toolbar's format option. Click the icon to open a dropdown menu with various text wrapping options.
In this tutorial, I opt for the ‘Justified’ option, which wraps the text to fit the box's shape. Sometimes, the justified text may look odd, so I suggest you experiment with all options to see which you prefer.

That’s it; you’re done wrapping text in your slide. But what if there was an easier way?
You've just learned to finesse your presentations with some text-wrapping skills, but what if you could take it further? Enter Plus AI, your secret weapon for creating professional-grade presentations with ease.
How To Use Plus AI For Professional Slide Design (In 3 Easy Steps)
Step 1: Download The Extension
Make sure you have the free Plus AI add-on for Google installed. If you haven't already, you can download it here.
Step 2: Edit Your Slide (And Create Your Own Templates)
Open the extensions tab and select "Edit with Plus AI." A sidebar will appear, offering options to create your slide with Plus AI. Refer to the screenshot below.

I am using the same content as the text wrapping tutorial above for this example. All I need to do is input the header and caption text, select a design layout, and click "generate slide" at the bottom.

Check out the screenshot below to see what Plus AI generated with my inputs.

Step 3: Make Any Changes (Such As Rewrite Text Or Remix The Design)
That’s it; your professional slide is ready at this stage. Plus AI transformed the same content into a sleek design without even needing text-wrapping features in the first place.
Here’s the fun part: You can experiment with other cool features, such as remixing the content and redesigning the slide to suit your needs.
Conclusion: Final Thoughts
Text wrapping in Google Slides can make your presentations look more dynamic and organized. Although Google Slides doesn’t explicitly offer a text wrapping button (yet), there are enough workarounds to ensure your slide data is properly aligned.
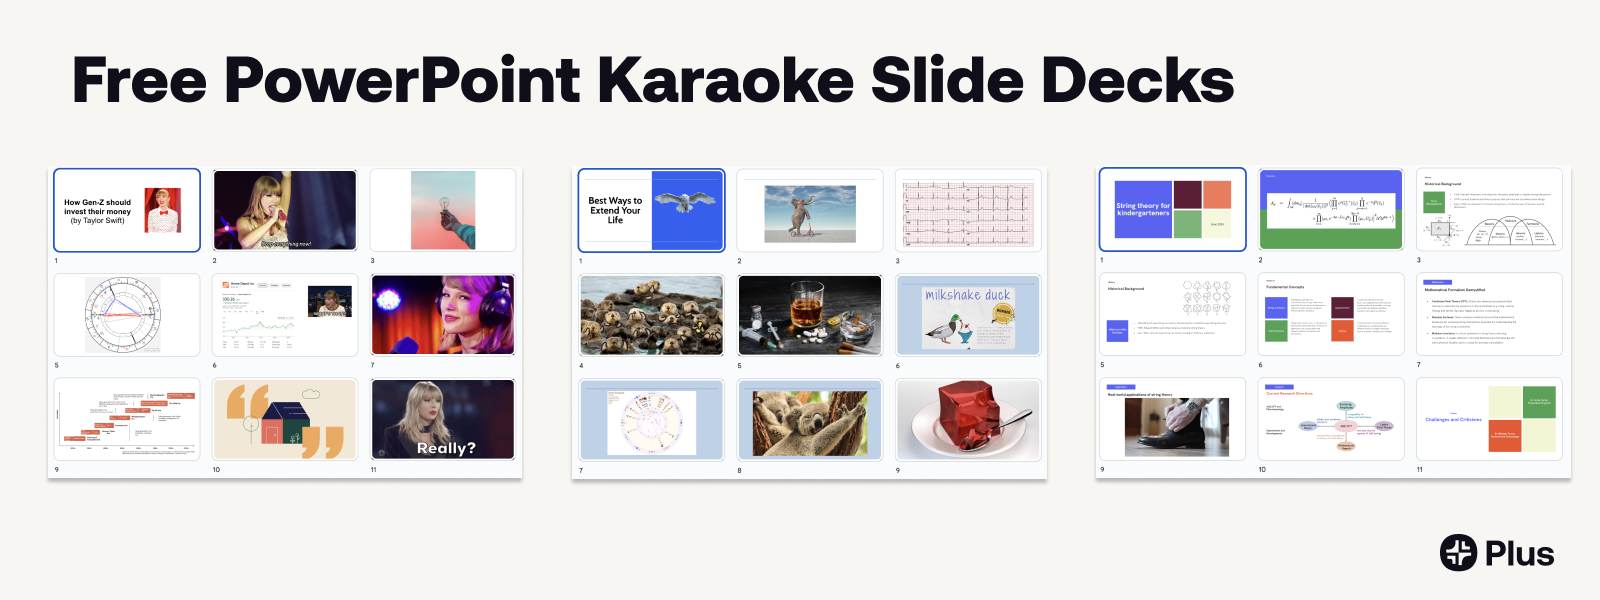
If you are looking for more inspiration for your next presentation, you can access our free slide templates on the gallery page here. These range from presets for a TED Talk to academic papers, employee onboarding, and case studies.