When you present a PowerPoint slideshow automatically, like a self-running presentation, you may want to loop the show. Or you might present a photographic show in person and want to start it again to run in the background as you speak.
Looping restarts the slideshow as soon as it ends, and this continues until you manually stop the playback.
Our guide shows you how to set up the loop for a PowerPoint presentation and test it to make sure it works correctly. We’ll also walk through how to use Plus to quickly create a captivating slideshow when you’re short on time.
How to loop PowerPoint
To turn on the Loop feature, open your slideshow in PowerPoint and follow the steps below.
- Go to the Slide Show tab and select Set Up Slide Show in the Set Up section.

- Mark the Show Type and check the Loop continuously box beneath. Keep in mind that if you choose Browsed as a kiosk, you’ll see the Loop continuously box checked automatically.

- Below Advance slides on the right, mark an option for advancing the slides. If you plan to move through the show yourself, choose Manually. But if you set up slide timings, like for an automatically playing presentation, choose Use timings, if present.

- Make any other adjustments you like to the additional settings and click OK when you finish.
When you present the slideshow, it will loop continuously. Simply press the Esc key to stop the playback at any time.
Test the loop in PowerPoint
To make sure that your PowerPoint presentation loops continuously, you can do a quick test.
- Go to the Slide Show tab and select From Beginning or From Current Slide per your preference.
- Your presentation should begin, and you can advance through the slide per the settings you selected.
- When the slideshow reaches the end, you should see it restart at the first slide.
Create a presentation with Plus AI for PowerPoint
Even the most skilled presentation creators can use a little help now and then. With Plus AI for PowerPoint, you can simply enter a prompt or upload a file and receive a slideshow in seconds.
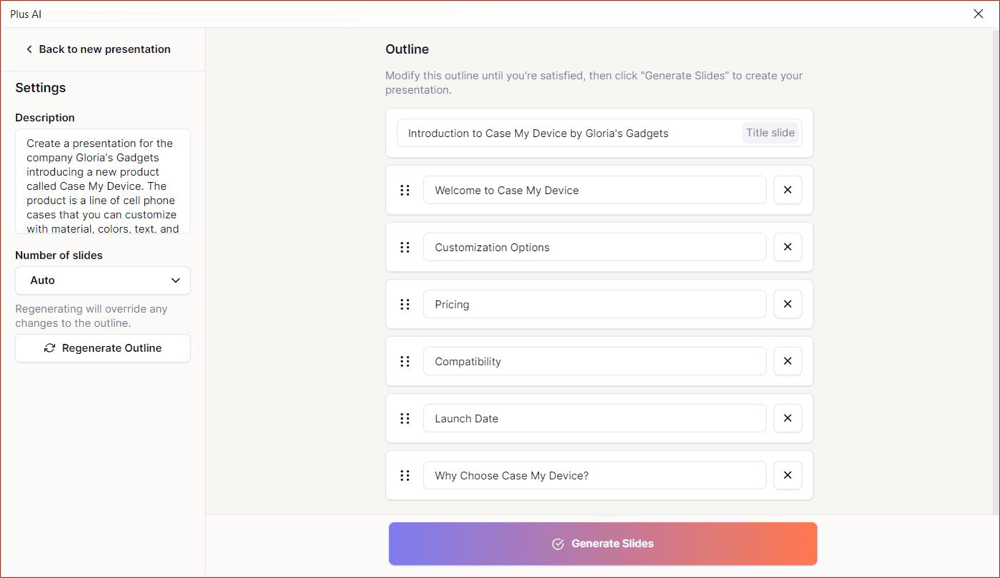
Start by choosing an attractive template and then your method for adding content. You’ll see an outline of your slides that you can edit if you like. Hit the Generate Slides button and your slideshow appears, ready for you to present!

Along with creating new presentations with Plus AI, you can edit existing ones. Insert a new slide, rewrite content, or remix a slide for a different layout.

To see all features, browse the template gallery, and start your free trial, visit the Plus AI website.
Conclusion
Looping a PowerPoint presentation is handy for continuously restarting your slideshow when it ends. Whether you’re playing the slideshow without being present or want the loop for convenience, it’s easy to set up.
And for another simple way to set up your slideshow, look to Plus AI. Using the tool’s artificial intelligence, you can create informative content, present effective images, charts, and timelines, and build memorable presentations.
FAQs
How to autoplay a PowerPoint presentation?
You can create a self-running presentation in PowerPoint to play when you’re not present. Go to Slide Show > Set Up Slide Show and choose Browsed at a kiosk in the pop-up window.
Make sure that you have the timings set up to advance your slides and any transitions you want to use. For complete details and instructions, look at our article for playing slides automatically in PowerPoint.
How do you loop a video continuously in PowerPoint?
After you insert the video on your slide, you can easily set it to loop continuously in PowerPoint. Select the video, go to the Playback tab, and check the box for Loop until Stopped. Note that this setting may not be available for certain types of clips such as some online videos.
How do I get my PowerPoint slides to move automatically?
To advance through your slides without clicking, head to the Transitions tab. In the Timing section, check the box for After and enter the timing to the right. If you don’t want to use a transition effect, select None in the Transition to This Slide box.


