There are all sorts of ways to enhance the appearance of your PowerPoint slides. From adding images and video to including transitions and animations, PowerPoint offers the features you need for attractive presentations.
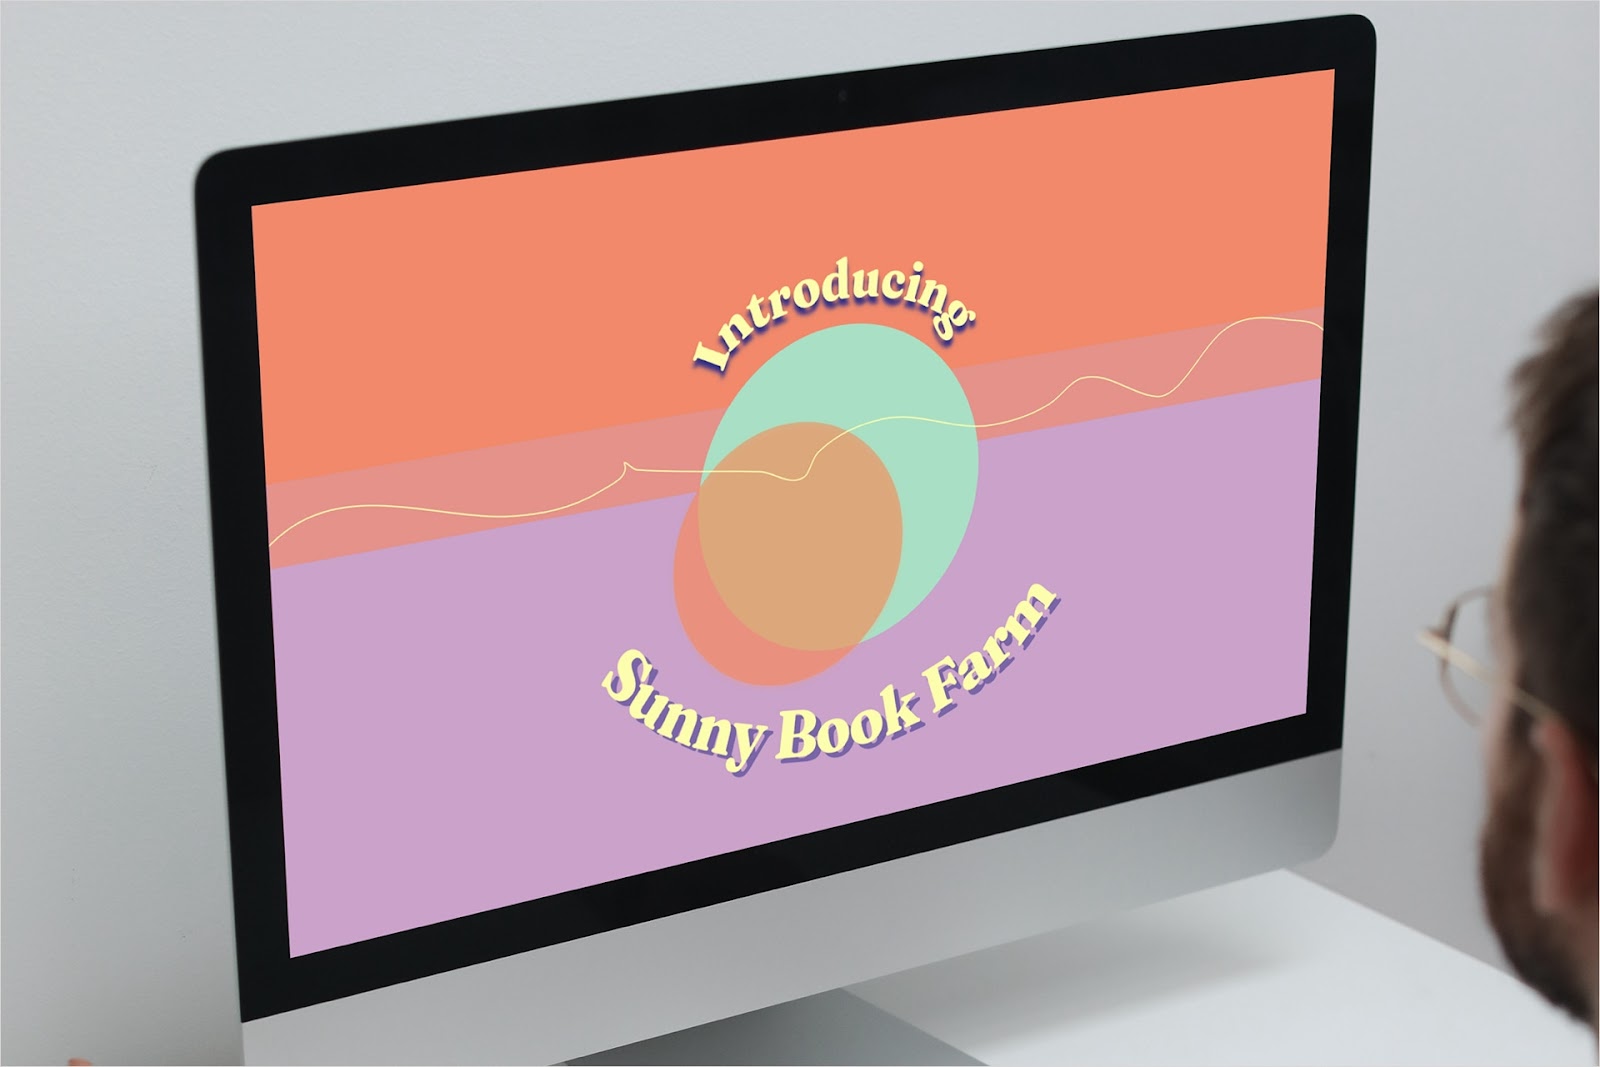
One way to make slide elements pop is by applying a rounded, arched, or circular format to your text. This is ideal for following the path of a shape, creating a logo, or simply giving your text an eye-catching look.
Our guide walks you through how to curve text in PowerPoint for that unique aesthetic. We’ll also explain how the Plus AI add-on for PowerPoint can help you rewrite content for an engaging presentation.
{toc}
Curve text in PowerPoint
You can curve regular text that you insert with a simple text box or take your text up a level by inserting and curving WordArt in PowerPoint.
- Select the text box or WordArt on your slide that you want to curve.
- Go to the Shape Format tab that displays and open the Text Effects menu in the WordArt Styles section of the ribbon.
- Move down to Transform and you’ll see a variety of options in the pop-out menu.
Here are a few suggestions for how to use these effects.
Follow Path options
If you want to curve your text around another object, like the outside of a shape, try one of the effects in the Follow Path section. You can choose an up or down Arch or full Circle or Button if you have a long text string.

As you hover your cursor over the different effects, you can see a preview to decide which one you like best. Then, select the effect to apply it to the text.

Warp options
If you want to curve your text inside an object or simply give it a distinctive appearance, check out the effects in the Warp section.
You can use one of the Arch options with a warped text appearance or a Curve option for something fun or funky.

Again, you can see a preview by hovering your cursor over each effect and then pick the one you want.

Adjust the curved text
After you choose the type of curve you want for your text, you’ll likely want to adjust it to fit. This includes the path as well as the density depending on the effect you use.
Select the yellow dot on the edge of the text box or WordArt and drag up, down, left, or right to change the curve.

You can also drag an edge to resize it or move it to a new location. Remember, you can immediately hit the Undo button if you don’t like the change!

Remove the curved text
Should you decide later that you don’t want the curved text after all, you can remove the effect in just a few steps.
- Select the text box or WordArt and return to the Shape Format tab.
- Open the Text Effects menu.
- Move to Transform and pick No Transform at the top of the pop-out menu.

You should then see your text without the curved effect.
Go from drab to fab with Plus AI for PowerPoint
It’s not always easy to prepare content for a presentation. With the Plus AI add-on for PowerPoint, you can get a little help from artificial intelligence.
Whether you want to jazz up your text to make it more entertaining, reword it for an academic audience, or shorten it for better readability, Plus AI provides you with these options and more.

Additional features you can use for editing slideshows with Plus AI include inserting slides with layouts of your choice and remixing slides for a more effective visual.
Check out the Plus AI website for the complete feature set and to start your free trial.
Conclusion
By adding a curve to your text in PowerPoint, you can not only wrap it around a shape but give it a fun appearance. Whatever your intent for the curved text, make sure you explore the various options described here so that you get just the right look.
For enhancing your slideshow, remember that Plus AI offers various tools and features. From creating new presentations to editing existing ones, take advantage of this handy add-on for your next slideshow.
FAQs
Where is the curve tool in PowerPoint?
Not to be confused with the ability to curve text, the Curve tool in PowerPoint is an insertable shape. You can add a simple curve or use a curved line, connector, or arrow.
Head to the Insert tab and open the Shapes menu. You’ll see these curve options in the Lines section. Simply choose one, drag it to the length you want on your slide, and adjust the curve from there.
How to wrap text in PowerPoint?
In PowerPoint, you can wrap text so that it carries over to the next line when it reaches the edge of the shape or text box.
Right-click the shape or box and choose Format Shape. In the sidebar that opens, select Size & Properties and expand Text Box. Mark the checkbox at the bottom for Wrap text in shape.
How to curve text in Canva?
To curve text in a Canva presentation, you can use the TypeCraft tool. Sign into Canva, visit the TypeCraft link, and then choose a new or existing design. Once the editor opens, use the sidebar to drag a center dot up or down to curve the text and then pop it onto the slide when you finish.