Company picnic? Family reunion? Volunteer event? T-shirt sale? Whatever you need to create a signup sheet for, Google Forms gives you a free and easy way to do it.
Our guide shows you step-by-step how to make a signup sheet in Google Forms including questions, appearance, settings, and sharing.
{toc}
1. Create a new form
You can create a blank form or use one of the gallery templates. Google does offer a signup form for T-shirts you can start with if you like.
- Visit Google Forms and sign in with your Google account.
- Then, do one of the following:some text
- To start from scratch, select Blank form on the top left or the plus sign in the lower right and pick Create new form.

- To use the Google Forms template, select Template gallery at the top or the plus sign in the lower right and pick Choose template. Choose the T-Shirt Sign Up template.

- Enter a name for the Google Form on the top left.
All changes you make are saved automatically, just like in Google Docs or Sheets.
For this tutorial, we’ll use the Blank Form so that you can see how to set everything up yourself. But you can apply the options below when using the template as well.
2. Enter a title and description
Use the box at the top of your new form to enter a title and description. Take advantage of the description area to include all information that your signees need for things like a date, time, location, or organizer.

You can use the Font tools that display for both fields to add bold or italics to the title and a bullet or numbered list to the description.
3. Add basic information questions
As with any signup sheet, you’ll likely need a first and last name and optionally other basic details. Be sure to include these questions first and make them required.
For the name question:
- Select Short answer in the question type drop-down menu.
- Enter the question text. For example, “First and Last Name”. You can use the Font tools that display to apply a format like bold or italics or select the Insert Image icon to add a photo.
- Turn on the toggle for Required.

Click the plus sign in the floating toolbar to add the next question. Then, set up additional basic information questions the same way. For instance, you can request a phone number or address.

4. Set up the signup questions
Next, create the questions for the signup information. As examples, a t-shirt signup might ask for size and color, a picnic signup might prompt for the dish the attendee is bringing, and an event volunteer signup might request the time frame.
Each question falls under a specific question type. We’ll use these examples to show how to set up the different types.
Multiple Choice question
For things like sizes or colors, you can use the Multiple Choice question type. This allows the signee to pick only one item from a list of options.
- Select Multiple choice in the question type drop-down menu.
- Add the first choice in the Option 1 field. Click the Add option field to add the next item, and so on. Notice you can pick add “other” which allows the person to type their item.
- Enter the question text. For example, “Select a Color”.
- Optionally, turn on the toggle for Required.

Checkbox question
For items where the signees can select more than one item, use the Checkbox question type.
- Select Checkboxes in the question type drop-down menu.
- Add the first item in the Option 1 field, click Add option to insert more items, and optionally pick the add “other” for a text input.
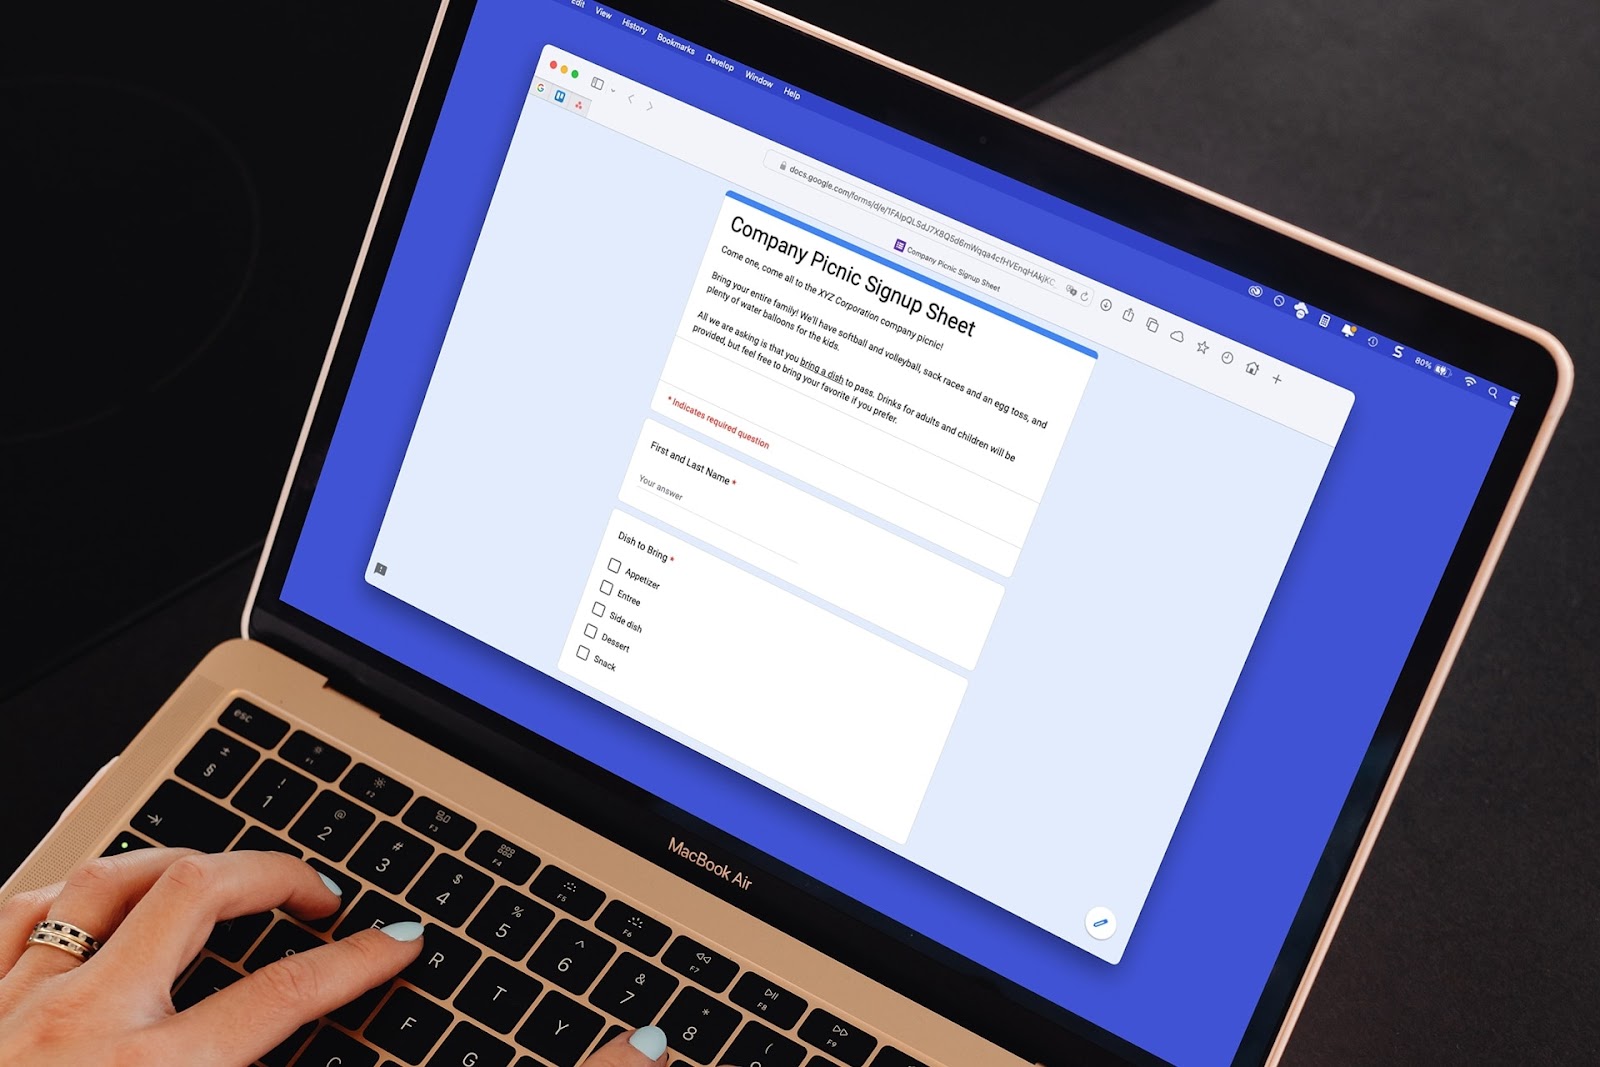
- Enter the question text. For example, “Dish to Bring”.
- Optionally, turn on the toggle for Required.

Dropdown question
Another question type you might use is the Dropdown. This is a good way to go if you have many items to pick from and want to keep the appearance of the form condensed. The signee clicks the Dropdown box to select just one choice.
- Select Dropdown in the question type drop-down menu.
- Add the first item in the Option 1 field and click Add option to insert more items.
- Enter the question text. For example, “Time Range”.
- Optionally, turn on the toggle for Required.

So far, we’ve looked at the most common question types you’d use for a signup form, but Google Forms offers several more like date, grid, and linear scale.
While these seem more appropriate for feedback forms, quizzes, or time off requests, you can certainly explore them in the question type menu for any you might want to use.
5. Adjust the appearance
The nice thing about using Google Forms for your signup sheet is that you can spruce it up to match your theme or topic.
Select the Customize Theme button (palette) at the top.
In the Theme sidebar, you can customize the text styles for the header, questions, and text. You can also choose an image for the header at the top, pick the accent color, and select a background color.

6. Configure the form settings
Next, you can configure settings for your form including responses, presentation, and question defaults.
Select the Settings tab at the top, above the form.
- Expand Responses if you want to collect email addresses*, send responders a copy of their completed form, allow responders to edit their responses, and limit responses to one per person.
*Note on collecting email addresses: If you pick Verified, responders are required to sign in with their Google account and if you pick Responder input, this automatically places a required email address question on your form.

- Expand Presentation if you want to show a progress bar, shuffle the question order, enter a custom confirmation message, show a link to submit another form, and disable autosave.

- Expand Question defaults if you want to make all questions on your form required automatically.

7. Optional: See or export Responses
A couple of other settings you may want to enable for your Google Form is connecting it to Google Sheets and/or receiving email notifications for responses.
Select the Responses tab at the top.
- Choose Link to Sheets if you want to see all responses compiled into a worksheet for you.

- Click the three dots and choose Get email notifications for new responses if you like. These are sent to the Gmail address associated with the Google account connected to Forms.

If you decide not to do either of the above, you can simply return to your Google Form and open the Responses tab to see the submissions.
8. Share your signup form
When you finish your signup sheet and are ready to share it, you have a few different options directly from Google Forms.
Select Send on the top right and pick from the following:
- Email: Send the form or a link to it via email. Enter the email addresses and edit the Subject and Message per your preference.
- Link: Obtain a link to your form that you plan to share elsewhere. You can use the Shorten URL checkbox to obtain a shorter link.

- Embed HTML: Copy the embed code for your form to paste on a website, for example, your company intranet. You can adjust the width and height for the iFrame.
- Social media: Create a post with a link to your form on Facebook or Twitter (X).

Notice that you can also choose to collect email addresses in this Share menu as well as the Settings for Responses above.
Need help with Google Slides or Docs?
Whether you’re building a slideshow or creating a document, Plus AI for Google Slides and Docs can lend a helping hand using artificial intelligence.
This Google add-on can assist you with structured Google Slides presentations that not only look good but deliver useful content. You can set up a new presentation or edit an existing one with Plus AI.

Plus AI can also help you create and edit documents, blog posts, quizzes, lesson plans, reports, cover letters, and other Google Docs in the format you need.
Visit the Plus AI website for a full feature set, gallery of templates, and all the details you need to grab the add-on and get started.
FAQs
How do I add a fillable table in Google Forms?
While you can’t currently insert a table in Google Forms, you can use the Multiple Choice Grid or Checkbox Grid question type to mimic a table structure. The grid format looks like a table with columns and rows. With the first option, responders can select a single option in each column and row whereas with the second, responders can select many options.
Is there a way to connect Google Forms to Google Sheets?
There’s actually two ways to connect Forms to Sheets. In Google Forms, you can send your responses to Sheets by selecting Link to Sheets on the Responses tab. In Google Sheets, go to Tools and select Create a new form. Both actions connect the two applications together.
Can a Google Form populate an existing Google Sheet?
Yes, when you select Link to Sheets on the Responses tab in Google Forms, you can choose to use an existing Google Sheet rather than a new one.